How to Repot a Plant: 7 Simple Steps
Do you know when or how to properly repot a plant? Many of us wait until it is bursting out of its pot, pull it out, put it in a new pot, add some soil and hope it grows.
-
Product on sale
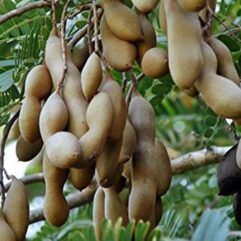 Tamarind Imli Live Plant (Imli ka paudha)Original price was: ₹890.00.₹650.00Current price is: ₹650.00.
 -
Product on sale
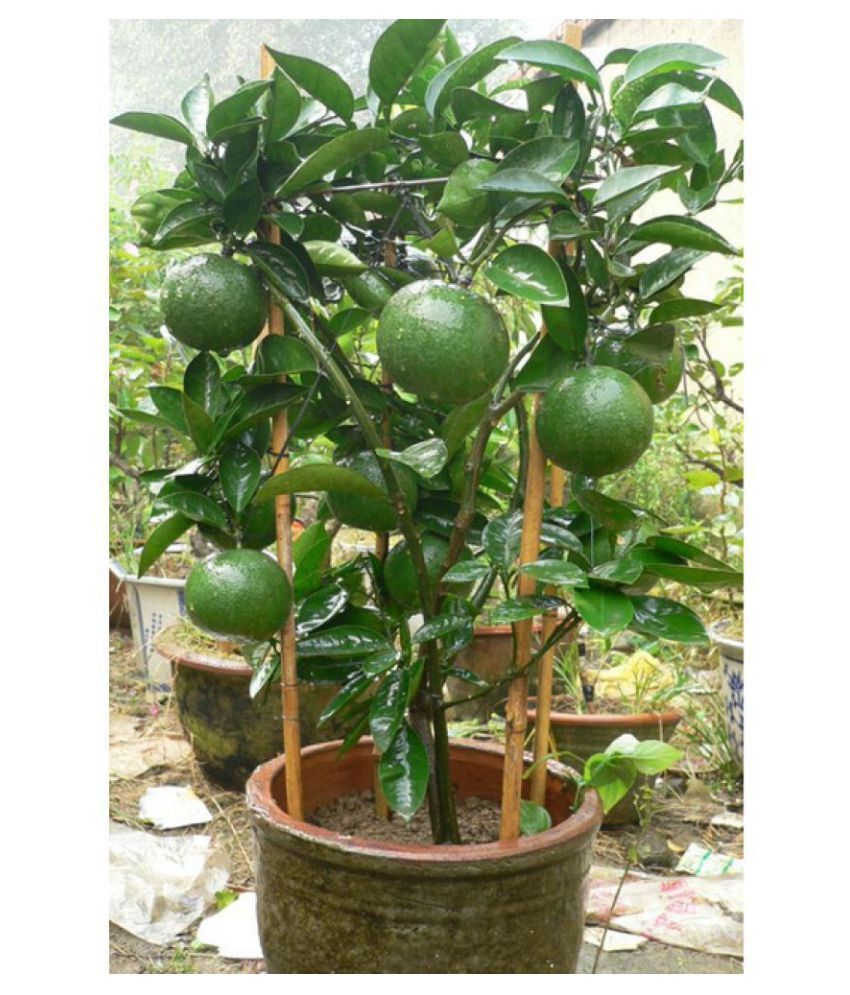
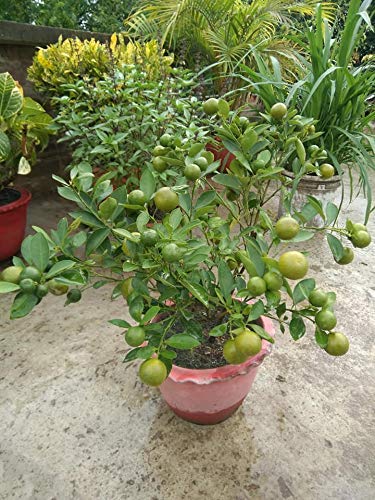
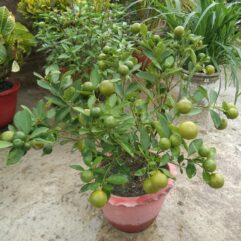 Desi Nimbu ka podha- Lemon Live plantOriginal price was: ₹800.00.₹249.00Current price is: ₹249.00.
 -
Product on sale
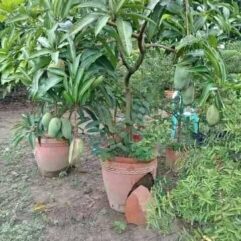
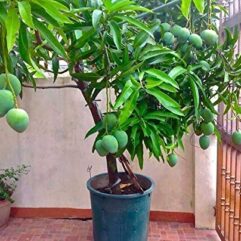 Grafted Mango Baramasi live plantOriginal price was: ₹1,050.00.₹549.00Current price is: ₹549.00.
 -
Product on sale
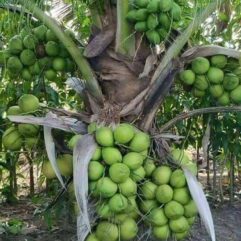 Dwarf coconut live plant (narial ka podha) hybrid coconut fruit plantOriginal price was: ₹1,650.00.₹999.00Current price is: ₹999.00.
 -
Product on sale
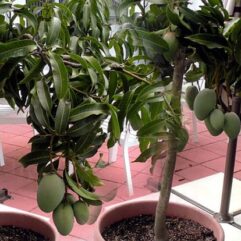 Bara masi mango live plant for home and garden good for potOriginal price was: ₹1,000.00.₹549.00Current price is: ₹549.00.
 -
Product on sale
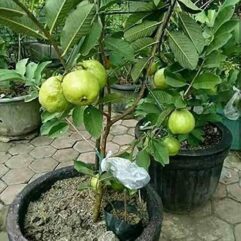 Guava Live Plant for Home and GardenOriginal price was: ₹900.00.₹399.00Current price is: ₹399.00.
 -
Product on sale
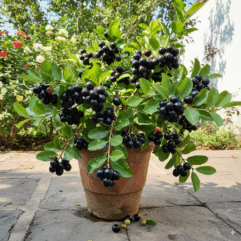 Grafted Blackberry Live Plant/Jaamun ka Podha for Home and GardenOriginal price was: ₹999.00.₹849.00Current price is: ₹849.00.
 -
Product on sale
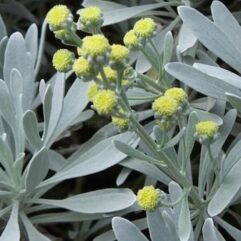 Lavender live plant – Chinese Lavender (Crossostephium artemisioides)Original price was: ₹750.00.₹650.00Current price is: ₹650.00.
 -
Product on sale
 All season dwarf mango plantOriginal price was: ₹999.00.₹499.00Current price is: ₹499.00.
Here are a few signs that your plant needs a new home:
- The plant simply looks like it is too big for its pot
- The roots are growing out of the drainage holes
- Water is sitting on the top and not absorbing
- The soil is dried out or looks like it is disintegrating
- It’s been years since you repotted it
Whether you are transitioning to a new pot because your flowers are flourishing in the springtime weather or you just want to freshen up your decor, we want to give your house plants the best shot at survival in their new home. Follow the seven simple steps and you will be admiring the handiwork of your green thumb in no time.
Step 1: Choose a larger pot
The main reason for repotting is because the plant has begun to outgrow its current home. You will want to give the roots plenty of room so they can support the beautiful part of the plant you get to enjoy. Make sure the new pot is not only wider, but also deeper. We recommend giving the plant at least an extra inch, depending on size. Make sure your new pot has drainage holes. Otherwise your plant might be sitting in water and rotting.
Step 2: Cover the drainage holes with a porous material like a coffee filter. This prevents soil from falling out but still allows water to pass through. If you opt for a terra cotta pot, soak it ahead of time. Terra cotta absorbs moisture, and you don’t want it to dry out the plant.
Step 3: Layer soil in the new pot.
Before you place the new plant inside, add a base layer of soil so the roots have new space to grow. Add enough so that your plant has room without spilling over the top.
Step 4: Water the plant.
Before you repot it, water it thoroughly. This will help keep the plant healthy and keeps the rootball together.
Step 5: Remove the plant from it’s old pot.
Rather than pulling the plant out, turn it upside down while placing your hand over the top of the pot. Rotate the plant a few inches in both directions to loosen it up and allow it to fall out. You can use a knife to help separate the plant and the pot.
Step 6: Prune the rootball and untangle old roots.
Pruning older roots will help the plant flourish in its new pot. Remove roots that are growing out of the core rootball. Now that you only have the new, healthy roots to deal with, untangle them so they grow outward instead of internally.
Step 7: Place the plant in it’s new pot.
Make sure the plant is centered and upright then press it firmly into it’s new home and add soil. Once you have patted it down, water it to help settle the soil.
-
Product on sale
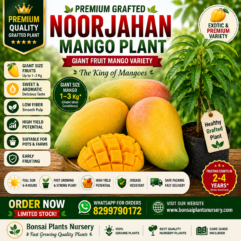 Noorjahan Mango Plant (Grafted) – Giant Fruit Mango Variety | Premium Rare Mango PlantOriginal price was: ₹1,750.00.₹1,250.00Current price is: ₹1,250.00.
 -
Product on sale
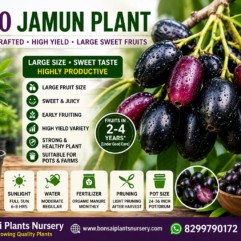 KG-10 Jamun Plant (Grafted) – High Yield Variety | Large Sweet Fruits | Fast Growing Quality PlantOriginal price was: ₹1,249.00.₹849.00Current price is: ₹849.00.
 -
Product on sale
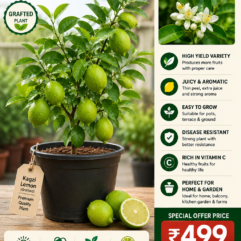 Kagzi Lemon Live Plant (Grafted) – High Yield Juicy Lemon Plant for Home & GardenOriginal price was: ₹850.00.₹499.00Current price is: ₹499.00.
 -
Product on sale
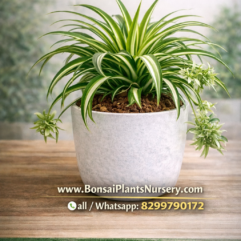 🌿 Spider Plant (Chlorophytum comosum) – Premium Indoor Air Purifying PlantOriginal price was: ₹1,250.00.₹999.00Current price is: ₹999.00.
 -
Product on sale
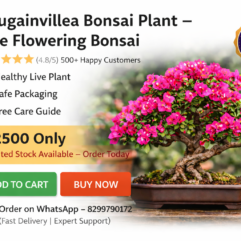 Bougainvillea Bonsai Plant – Live Flowering BonsaiOriginal price was: ₹3,500.00.₹2,150.00Current price is: ₹2,150.00.
 -
Product on sale
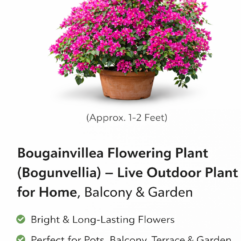 Bougainvillea Flowering Plant (Bogunvellia) – Live Outdoor Plant for Home, Balcony & GardenOriginal price was: ₹749.00.₹499.00Current price is: ₹499.00.
 -
Product on sale
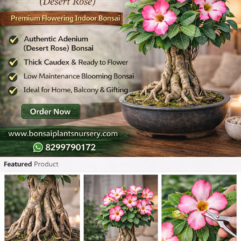 Adenium Bonsai Plant (Desert Rose) – Premium Flowering Indoor BonsaiOriginal price was: ₹4,500.00.₹2,500.00Current price is: ₹2,500.00.
 -
Product on sale
 Banyan Bonsai Plant (Ficus Benghalensis) – Premium Indoor Spiritual BonsaiOriginal price was: ₹4,700.00.₹2,500.00Current price is: ₹2,500.00.
 -
Product on sale
 Peepal Bonsai Plant (Ficus Religiosa) – Premium Spiritual Indoor Bonsai TreeOriginal price was: ₹4,500.00.₹2,500.00Current price is: ₹2,500.00.
Don’t forget to place your plant in a decorative basket of your choosing! Perfect for holidays, festivities or as a decorative touch for just about any space. Now that your plant is potted, make sure you continue to care for it properly.
Source:
https://www.proplants.com/blog/how-to-repot-a-plant