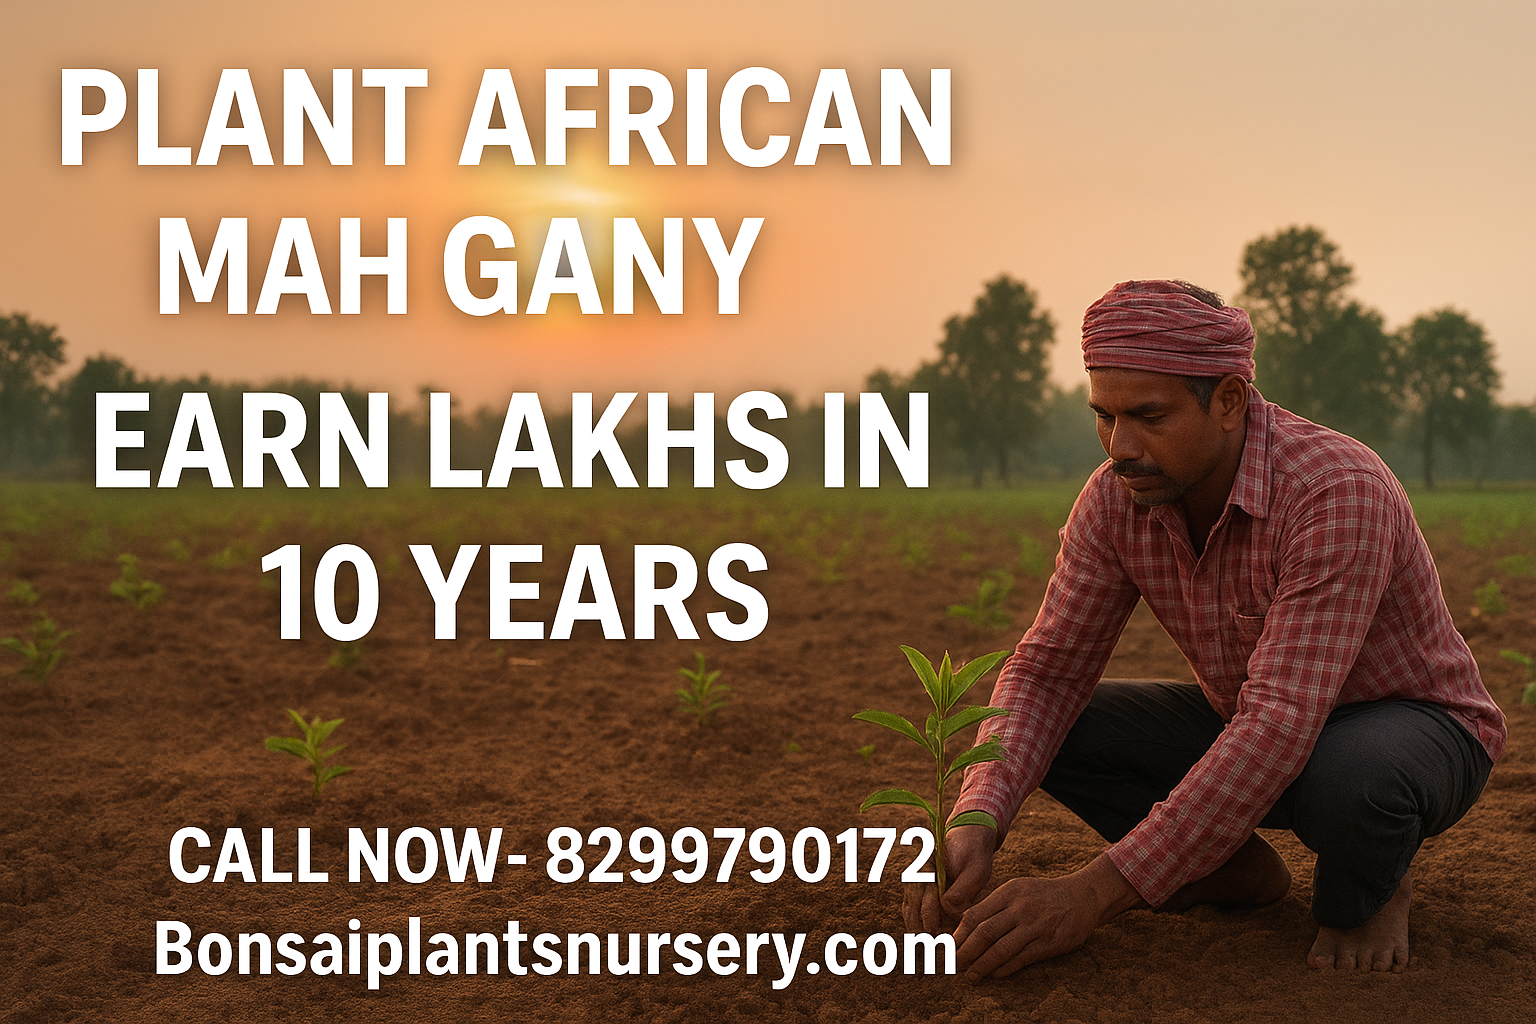
⭐ Introduction – Why African Mahogany is Emerging as the Next Big Timber Revolution
Across India and many countries, one tree is rapidly rising in popularity—African Mahogany.
Known scientifically as Khaya senegalensis or Khaya ivorensis, this tree is becoming a game-changer for farmers, wood industries, agroforestry investors, and commercial plantation developers.
African Mahogany is being hailed as “The Green Gold of the Future” due to:
-
its high-quality hardwood,
-
exceptionally fast growth,
-
strong demand in domestic & global markets,
-
suitability to Indian climate,
-
and extremely high returns on investment.
In this long-form, deeply researched guide, we will explore the top 10 strongest reasons why African Mahogany is considered the most profitable timber tree of the coming decades.
Let’s dive in.
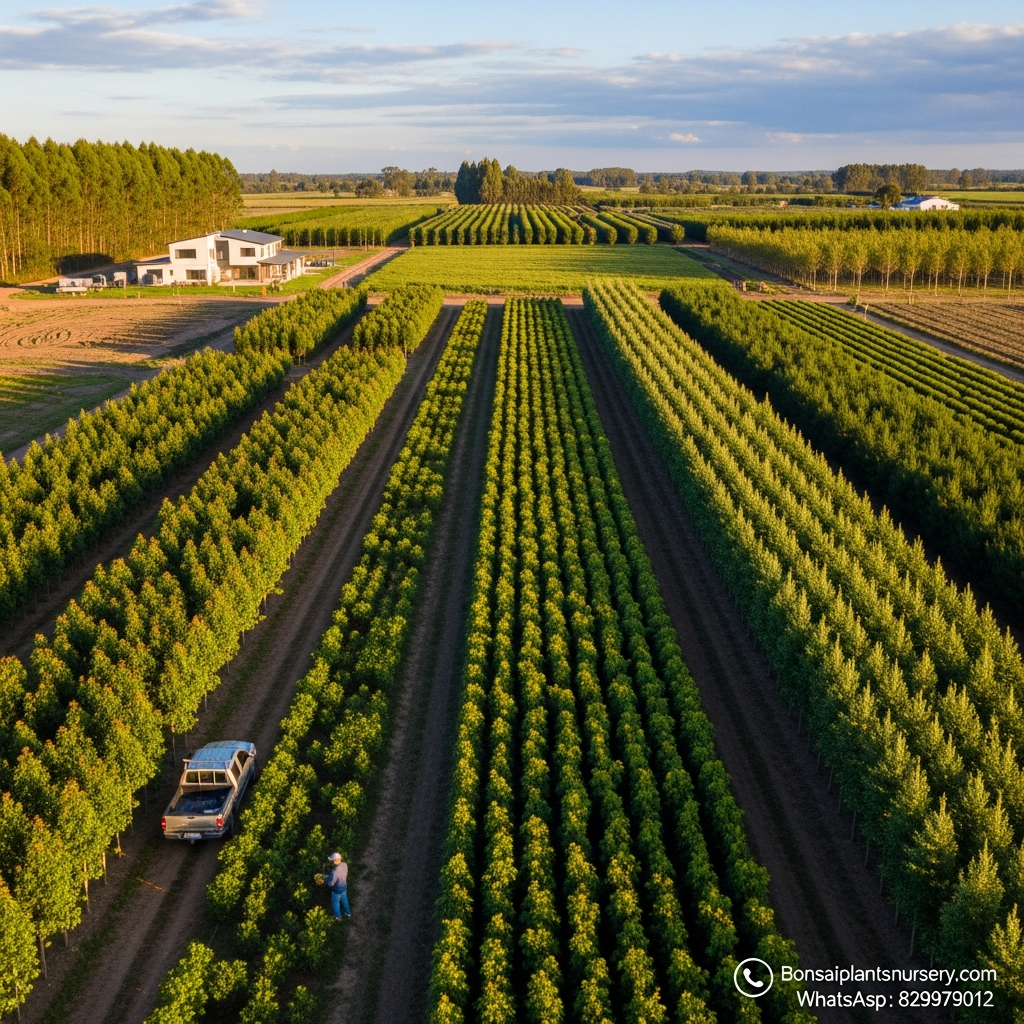
⭐ Reason 1 – One of the Fastest-Growing Premium Hardwood Trees
Growth speed is the backbone of profitable forestry.
African Mahogany offers exceptional speed, especially in its early years.
📌 Growth Statistics
-
2–3 meters height increase every year during the first 3–4 years
-
30–40 cm girth within 7–10 years
-
1 meter or more trunk girth by 15–18 years
-
Final height reaches 60–90 feet
📌 Comparison with Teak
Teak usually takes 20–25 years to mature.
African Mahogany matures in 12–15 years, cutting almost half the waiting period.
👉 Faster maturity = Faster profits = Faster return on investment.
This is one of the biggest reasons it is called Green Gold.
⭐ Reason 2 – Highly Valued, Premium-Quality Hardwood
African Mahogany produces hardwood that is:
-
dense
-
durable
-
reddish-brown
-
termite-resistant
-
moisture-resistant
-
straight-grained
-
aesthetically attractive
It is counted among the finest luxury woods worldwide.
📌 Major Applications
-
Premium furniture
-
Doors & windows
-
Wardrobe & interior panels
-
Wooden flooring
-
Hotel & resort interiors
-
Sculptures & decorative products
-
Kitchen cabinets
-
Musical instruments
-
Boat building
-
Veneer manufacturing
The market never stops demanding high-quality hardwood.
This makes African Mahogany a stable, long-term investment tree.
⭐ Reason 3 – Rapidly Growing Demand in the Indian Market
In the last 5–7 years, furniture manufacturers, interior designers, and wood traders across India have started shifting toward African Mahogany due to its:
-
durability
-
faster availability
-
lower cost compared to teak
-
excellent finishing quality
📌 Present Market Price (India)
-
Raw logs: ₹1,500 – ₹2,800 per cubic foot
-
Sawn timber: ₹3,500 – ₹6,000 per cubic foot
-
Veneer: ₹60 – ₹120 per sq. ft
Furniture companies prefer African Mahogany because:
-
it takes polish & paint extremely well
-
it provides a high-end luxury finish
-
it has uniform density and stability
-
it is more affordable than teak
👉 Demand is skyrocketing, and supply is still limited.
That’s why prices are rising every year.
⭐ Reason 4 – Exceptional Return on Investment (ROI) in Just 12–15 Years
African Mahogany is one of the highest earning trees a farmer can grow.
📌 Plantation Density
-
250–300 trees per acre
-
Spacing: 10×10 ft or 12×12 ft
📌 Investment
Total plantation cost per acre (one-time):
-
₹35,000 – ₹50,000
📌 Returns
An average African Mahogany tree yields:
-
8–15 cubic feet of timber
-
Timber value per tree: ₹35,000 – ₹70,000
📌 Per Acre Profit
If 250 trees mature successfully:
250 × ₹40,000 = ₹1,00,00,000 (1 Crore Rupees per acre)
(Estimated after 12–15 years)
No other hardwood plantation gives such a high return in such a short time.
👉 High ROI + Low risk = Best long-term investment for farmers.
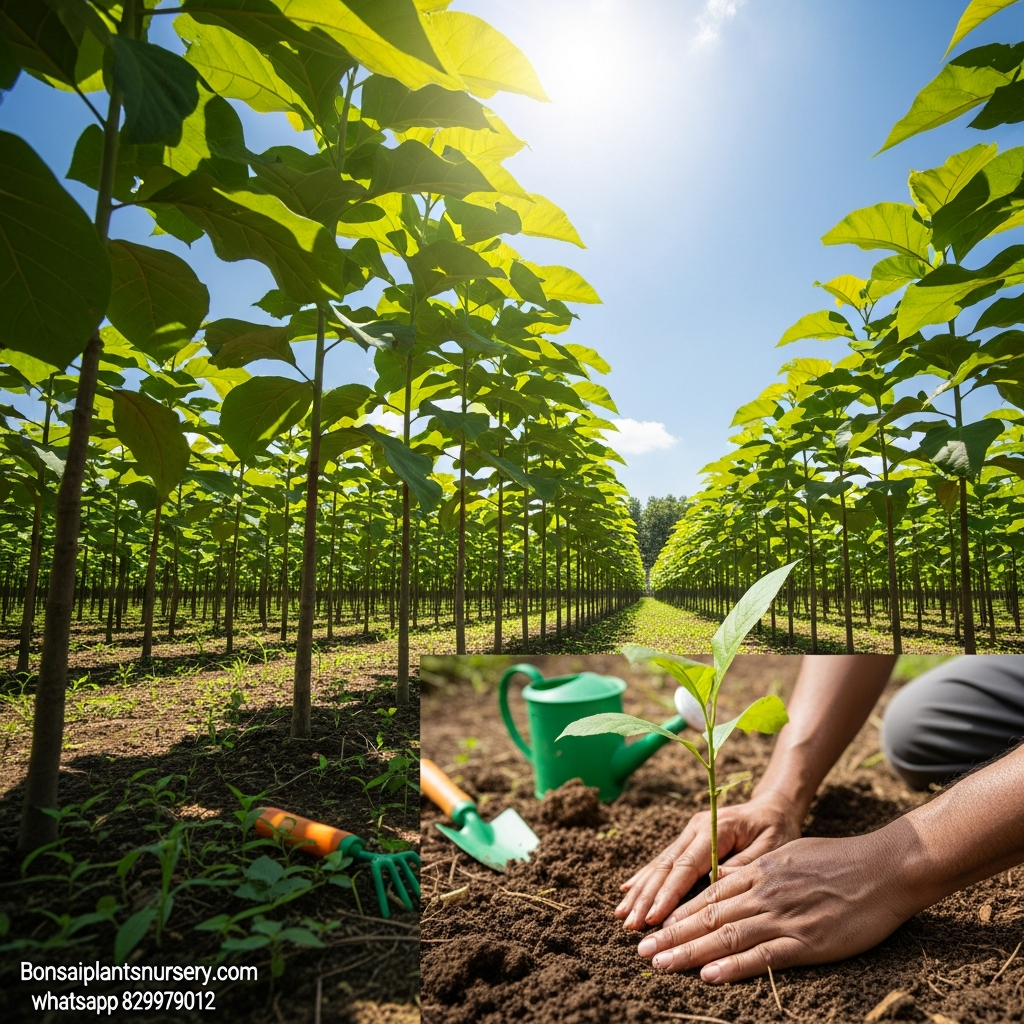
⭐ Reason 5 – Excellent for Agroforestry and Intercropping
Farmers can grow crops along with African Mahogany during the early years because its canopy remains small for 4–5 years.
This makes it an ideal agroforestry tree.
📌 Best Intercrops
-
Turmeric
-
Ginger
-
Lemongrass
-
Vegetables
-
Moringa
-
Tulsi
-
Fodder crops
-
Stevia
-
Cowpea
-
Medicinal herbs
Intercropping provides:
-
yearly income
-
soil improvement
-
moisture retention
-
maximum land utilization
👉 African Mahogany ensures dual income:
short-term crop income + long-term timber income.
⭐ Reason 6 – Thrives in Almost Every Indian Climate Zone
African Mahogany is highly adaptable.
📌 Suitable Indian States
-
Uttar Pradesh
-
Bihar
-
Madhya Pradesh
-
Maharashtra
-
Karnataka
-
Telangana
-
Andhra Pradesh
-
Tamil Nadu
-
Odisha
-
West Bengal
📌 Soil Requirements
-
Black soil
-
Red soil
-
Alluvial soil
-
Loamy soil
-
Sandy-loam soil
-
Soil pH: 6.0 to 7.5
📌 Climate
-
Tolerates drought
-
Performs well in humid areas
-
Ideal rainfall: 800–2000 mm
👉 Its adaptability ensures a very high survival rate, even with minimal care.
⭐ Reason 7 – Very Low Risk of Pests and Diseases
Where other trees like Eucalyptus, Poplar or Subabul often face pest and fungal issues, African Mahogany naturally resists many common problems.
📌 Natural Resistance
-
termite resistance
-
fungal resistance
-
stem-borer resistance
-
leaf spot is rare
-
no excessive disease management required
This reduces:
-
maintenance cost
-
need for pesticides
-
plantation losses
👉 Low maintenance = Higher profit margin.
⭐ Reason 8 – Very High Export Demand
African Mahogany is one of the most traded hardwoods in the global market.
Countries like:
-
USA
-
UK
-
Germany
-
France
-
UAE
-
China
-
Japan
import tons of Mahogany every year.
📌 Main Export Uses
-
luxury furniture
-
interior wood panels
-
yacht interiors
-
decorative veneering
-
musical instruments
Export demand is increasing significantly because teak supply is limited and very costly.
👉 Farmers growing African Mahogany benefit from global timber scarcity and rising demand.
⭐ Reason 9 – Environmental Benefits + Carbon Credit Income
African Mahogany absorbs a large amount of carbon dioxide due to its rapid growth rate.
It contributes to:
-
reducing carbon emissions
-
improving soil fertility
-
creating biodiversity
-
enhancing groundwater recharge
📌 Carbon Credit Earnings
Each tree generates:
-
0.3–0.5 carbon credits annually
-
Carbon credit price: ₹600–₹1,200 each
Farmers with large plantations can earn additional income.
👉 This makes African Mahogany not only profitable but also environment-friendly.
⭐ Reason 10 – A Perfect Future Alternative to Teak
Teak (Sagwan) is world-famous but:
-
slow-growing
-
expensive
-
limited supply
-
high maintenance
-
requires 20–25 years to mature
African Mahogany offers almost all the benefits of teak, but grows twice as fast.
📌 Advantages Over Teak
-
faster growth
-
highly durable hardwood
-
excellent finishing
-
lower cost of plantation
-
quicker harvesting
-
strong global demand
Furniture & interior industries are already shifting from teak to mahogany.
👉 All these reasons make African Mahogany the Future King of Timber.
🌟 Conclusion – Is African Mahogany Truly the “Green Gold” of the Future?
Absolutely yes.
African Mahogany stands out due to:
-
High-quality hardwood
-
Fast growth rate
-
Massive domestic & international demand
-
Crore-level income per acre
-
Low maintenance & high adaptability
-
Perfect for agroforestry
-
Suitable for all Indian states
-
Strong export market
-
Carbon credit benefits
-
Replacement for teak
For farmers, it is one of the most profitable long-term investments.
For investors, it is a stable, future-proof asset.
For industries, it is a premium hardwood alternative.
👉 That is why African Mahogany is rightly called the “Green Gold” of the future.
📞 Need African Mahogany Plants for Plantation?
We supply high-quality African Mahogany plants across India.
✔ Healthy nursery-grown plants
✔ PAN-India delivery
✔ Bulk order supply
✔ Support for plantation guidance
📲 WhatsApp / Call: 8299790172
🌳 Plant African Mahogany on Vacant Land – Earn Lakhs in 10 Years