The Peepal Tree (Ficus religiosa) is one of the most sacred and powerful trees in Indian culture. It is worshipped, respected, and believed to be a source of positive energy, peace, longevity, and prosperity.
When this divine tree is grown in miniature form as a Peepal Bonsai, it becomes one of the most valuable Indoor Bonsai Plants for homes and offices.
Today, Peepal Bonsai is:
-
In strong demand for spiritual & vastu purposes
-
One of the best-selling bonsai plants in India
This detailed guide will teach you:
✅ How to make Peepal Bonsai step-by-step
✅ Seed method & nursery plant method
✅ Pot, soil, watering & fertilizer guide
✅ Pruning, wiring & shaping techniques
✅ Common problems & solutions
✅ Vastu & spiritual benefits
✅ Product buying guide + strong sales CTA
🌱 What Is Peepal Bonsai?
A Peepal Bonsai is created by growing and training a Ficus religiosa plant using bonsai techniques to keep it small, artistic, and controlled while maintaining its natural strength and beauty.
👉 Bonsai is not a separate plant species
👉 It is an art of growing trees in miniature form
Peepal Bonsai represents:
-
Spiritual power
-
Patience and discipline
-
Nature in its most artistic form
🌳 Why Peepal Bonsai Is So Special?
1️⃣ Religious & Spiritual Importance
-
Associated with Lord Vishnu, Lord Shiva & Buddha
-
Believed to purify the environment
-
Reduces negative energy from home
2️⃣ Powerful Vastu Benefits
-
Improves peace and harmony
-
Brings financial stability
-
Reduces stress and anxiety
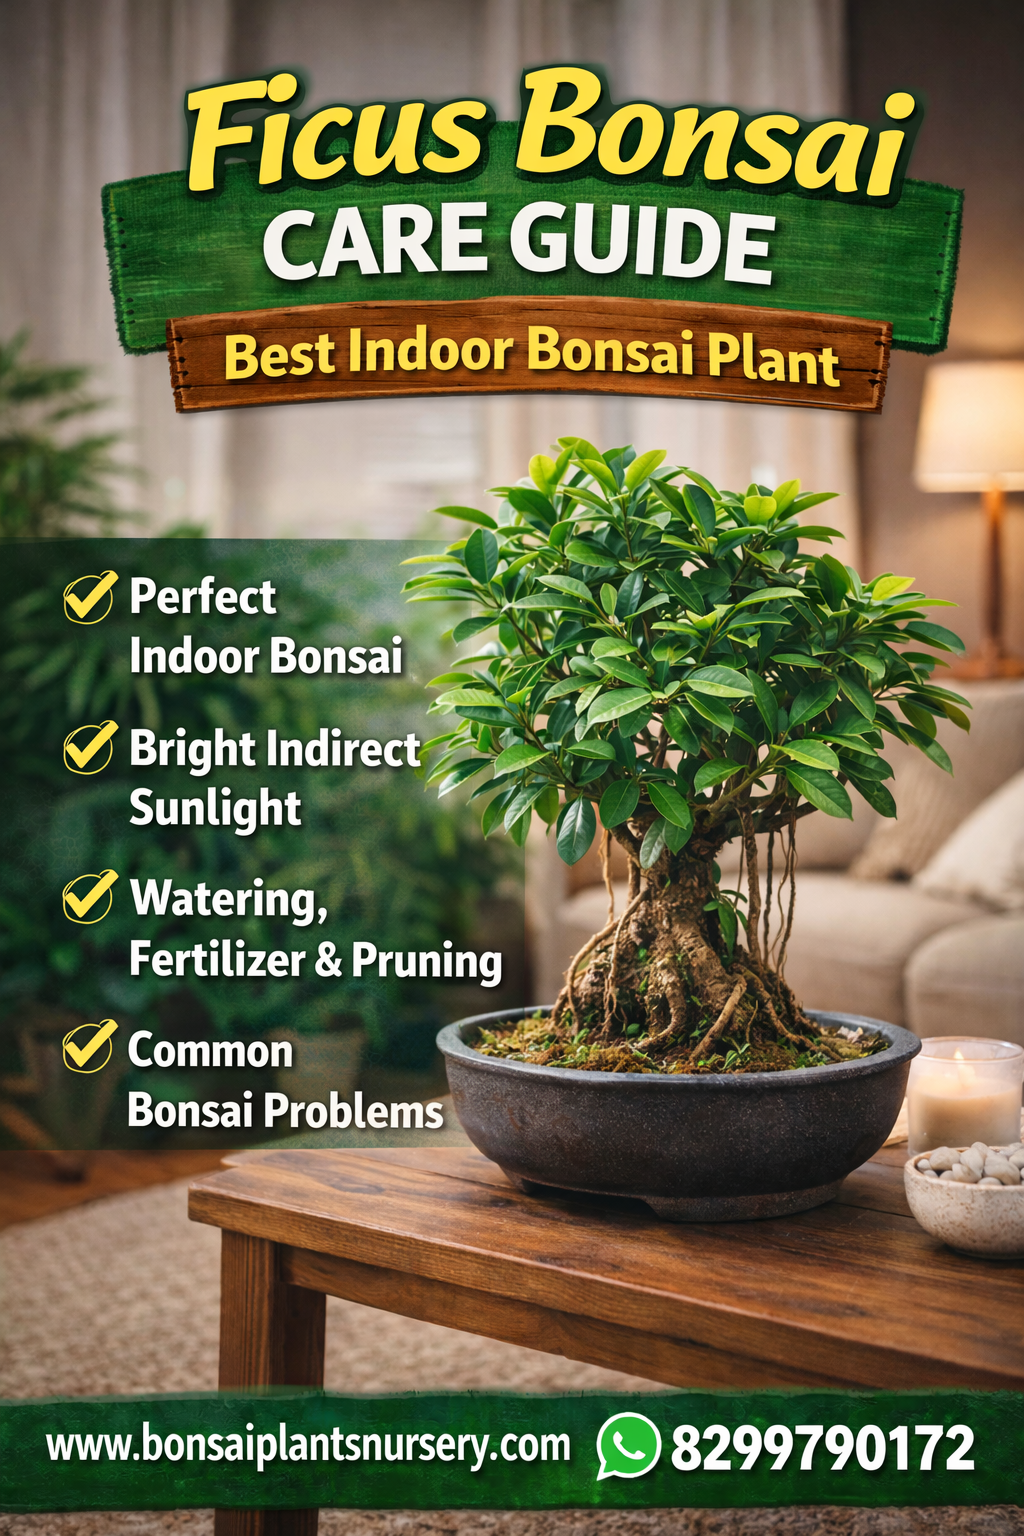
3️⃣ Best Indoor Bonsai Plant
-
Grows well in pots
-
Suitable for homes, offices & balconies
-
Requires less space
🌿 Who Should Buy a Peepal Bonsai?
✔ Spiritual people
✔ Home & office décor lovers
✔ Corporate offices
✔ Meditation practitioners
✔ Beginners in bonsai gardening
✔ Gift buyers (housewarming, festivals, offices)
🌱 Two Best Methods to Make Peepal Bonsai
🔹 Method 1: Growing Peepal Bonsai from Seeds
Step 1: Collecting Seeds
-
Collect ripe Peepal fruits
-
Extract seeds carefully
-
Soak seeds in water for 24 hours
Step 2: Germination
-
Use light soil + cocopeat
-
Place seeds on soil surface (do not bury deeply)
-
Keep soil moist, not wet
⏳ Germination time: 7–14 days
⚠️ Seed-grown bonsai requires years of patience
🔹 Method 2: Making Peepal Bonsai from Nursery Plant (Best)
✔ Recommended for beginners
✔ Faster results
✔ Better survival rate
How to Select the Right Plant:
-
6–12 months old healthy plant
-
Thick trunk preferred
-
Strong root system
📌 Trained or semi-trained Peepal Bonsai plants are best for buyers
🪴 Best Pot for Peepal Bonsai
Choosing the right pot is crucial.
✔ Ideal Bonsai Pot
-
Shallow and wide
-
Ceramic or clay pot
-
Proper drainage holes
❌ Deep pots encourage vertical growth
❌ No drainage = root rot
🌱 Best Soil Mix for Peepal Bonsai
Wrong soil is the biggest reason bonsai failure.
✔ Perfect Soil Mix:
-
40% garden soil
-
30% cocopeat
-
20% river sand
-
10% vermicompost
Benefits:
✔ Excellent drainage
✔ Healthy roots
✔ Controlled growth
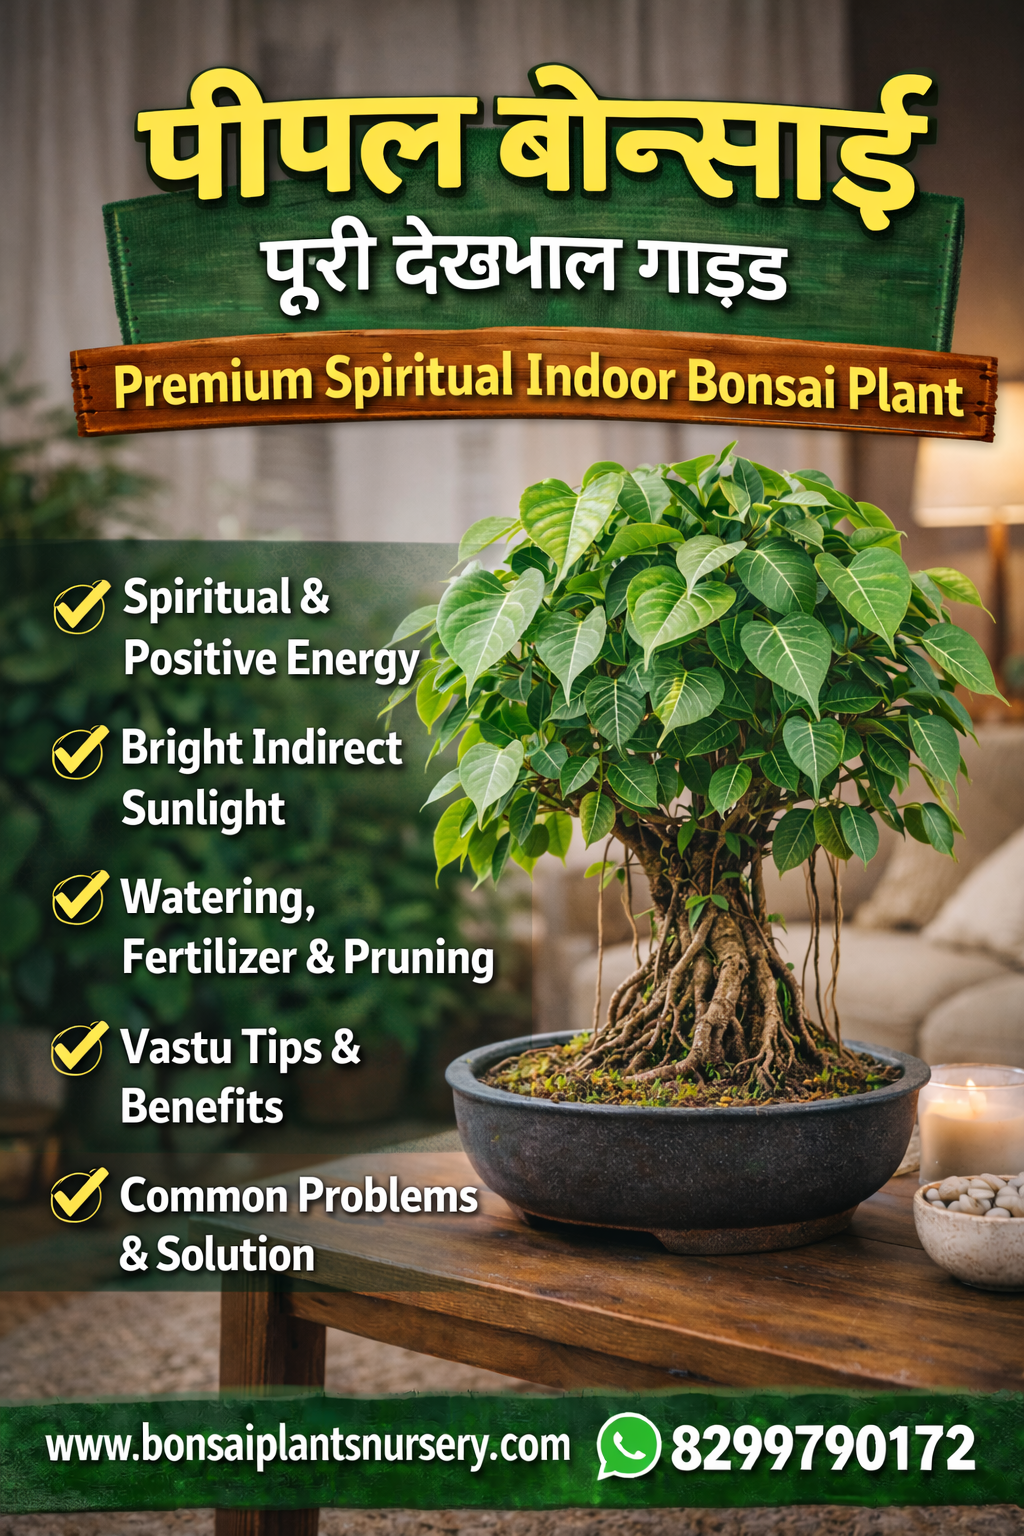
☀️ Sunlight Requirement for Peepal Bonsai
-
Bright indirect sunlight is ideal
-
Morning sunlight is best
-
Place near window or balcony
❌ Full shade → leaf drop
❌ Harsh afternoon sun → leaf burn
💧 Watering Guide for Peepal Bonsai
⚠️ Overwatering is the most common mistake
✔ Correct Watering Method:
-
Water only when topsoil feels dry
-
Summer: daily or alternate days
-
Winter: every 3–4 days
👉 Water until excess drains from bottom
🌼 Fertilizer & Nutrition Guide
🌱 Growing Season (March–September)
-
Liquid bonsai fertilizer every 15 days
-
OR vermicompost once a month
❄️ Winter Season
-
Fertilize once every 30–40 days
❌ Over-fertilizing damages roots
✂️ Pruning Peepal Bonsai (Most Important Step)
Pruning helps to:
✔ Maintain shape
✔ Reduce leaf size
✔ Encourage branching
✔ How to Prune:
-
When branch develops 6–8 leaves
-
Cut back to 2–3 leaves
📌 Regular pruning keeps bonsai compact
🧵 Wiring & Styling Techniques
-
Use aluminum bonsai wire
-
Best season: spring & monsoon
-
Bend branches gently
⚠️ Do not wire too tightly
⚠️ Beginners should seek guidance
🔄 Repotting Peepal Bonsai
-
Every 2–3 years
-
Best time: spring or monsoon
-
Trim roots lightly
-
Replace old soil
🦠 Common Problems & Solutions
🍂 Leaf Drop
Cause: Overwatering, location change
Solution: Stable location & proper watering
🟡 Yellow Leaves
Cause: Poor drainage, nutrient deficiency
Solution: Improve soil + add vermicompost
🐜 Pests (Aphids, Mealybugs)
Solution: Neem oil spray every 7–10 days
🏡 Best Place to Keep Peepal Bonsai (Vastu)
✔ North-East direction (best)
✔ Living room
✔ Office desk
✔ Meditation area
❌ Bathrooms
❌ Dark corners
❌ Under AC vents
🌿 Vastu & Feng Shui Benefits of Peepal Bonsai
-
Enhances positive energy
-
Improves mental peace
-
Helps concentration & meditation
-
Attracts prosperity
-
Creates calm environment
❓ Frequently Asked Questions (FAQs)
Q1. Can Peepal Bonsai be kept indoors?
Yes, with bright indirect sunlight.
Q2. Is Peepal Bonsai good for beginners?
Yes, with basic care guidance.
Q3. How long does Peepal Bonsai live?
50+ years with proper care.
Q4. Does Peepal Bonsai need daily sunlight?
Yes, indirect sunlight is important.
🛒 PRODUCT DESCRIPTION
🌿 Peepal Bonsai Plant – Premium Spiritual Indoor Bonsai
✔ Healthy, trained bonsai
✔ Thick trunk & strong roots
✔ Easy maintenance
✔ Ideal for home & office
🎁 Perfect Gift For:
-
Housewarming
-
Office inauguration
-
Spiritual occasions
-
Corporate gifting
Peepal Bonsai Plant (Ficus Religiosa) – Premium Spiritual Indoor Bonsai Tree
🚚 Why Buy from Bonsaiplantsnursery.com?
✅ Trusted online bonsai nursery
✅ Expert-grown bonsai plants
✅ Safe & secure packaging
✅ All-India delivery
🌐 Website: www.bonsaiplantsnursery.com
📲 WhatsApp: 8299790172